TIMIFY – Smart Appointment Scheduling for Businesses
Automate scheduling & optimise resources with TIMIFY, the trusted appointment scheduling software for businesses all sizes.


From Basic Booking to Smarter Scheduling
Are you ready to go beyond the limitations of basic booking tools? TIMIFY offers a scalable, all-in-one appointment scheduling solution that transforms how you manage appointments, resources, and teams. What Your Business Gains with TIMIFY:

Boost Efficiency
Reduce scheduling conflicts and use TIMIFY's advanced scheduling automation capabilities to manage manual tasks efficiently.

Elevate Customer Satisfaction
Provide a seamless and personalised booking experience with easy online booking, automated communications, and convenient self-service options.

Maximise Resource Utilisation
Manage and schedule staff, equipment, and rooms effectively, ensuring their optimal utilisation.

Make Data-Driven Decisions
Access and export booking data, revenue, resource capacity, and more to make data-driven decisions..
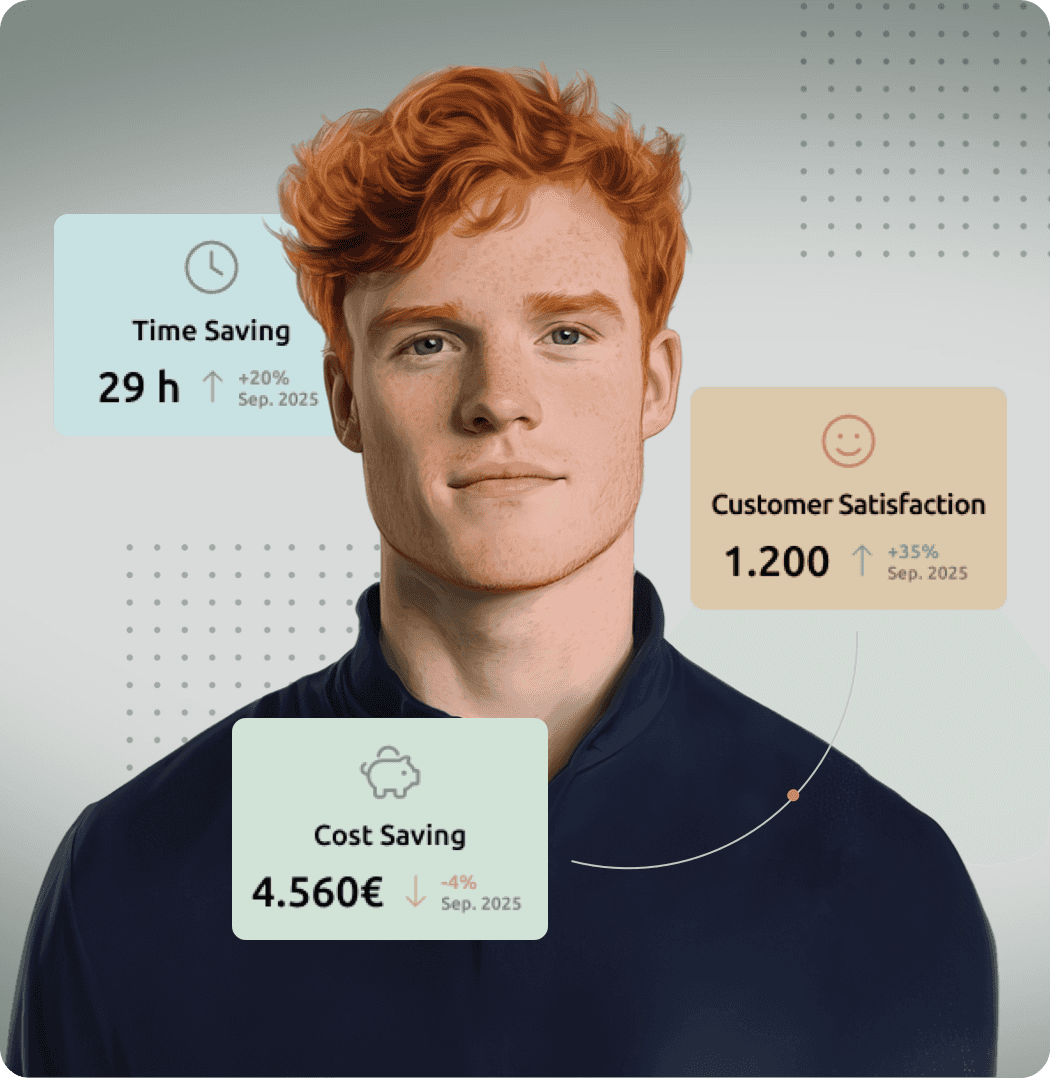
Real Results Achieved by Our Customers Since Implementing TIMIFY:


A Software Built for Your Business Needs

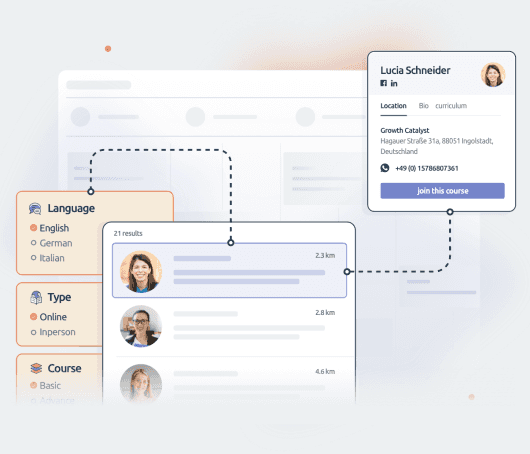

Smart Appointment Booking
Offer a seamless online booking experience for both customer-facing appointments and internal scheduling. Whether you’re an SMB or an enterprise TIMIFY’s Online Booking System simplifies appointment management across multiple locations, teams, and time zones—while integrating effortlessly into all your communication channels.
➡️ Explore TIMIFY’s Online Booking Features

Optimal Scheduling Processes
Manage resources, services, and bookings together to avoid conflicts. Easily configure scheduling rules to allocate and use your resources smarter, and give them attributes that will be visible during the booking process.
Smart Automation for Your Business
Reclaim your time and boost efficiency with the TIMIFY Assistant. a virtual assistant that will help you:
- Reschedule appointments when an employee is unavailable due to illness, notifying affected customers.
- Inform customers on the waitlist about earlier available slots.
- Automate follow-ups or reminders for new appointments and the automatic scheduling of recurring appointments.
One Booking Solution, Endless Possibilities
Our system has evolved to cater to a wide range of industries and use cases. From managing internal or online bookings to virtual consultations or slot bookings, the possibilities are endless.
 Group Bookings
  Video Calls
  Time-Slot Booking
  Room Booking
  Work Meetings
  Interview Scheduling
  Resource Scheduling
  One-on-one Appointments


Tailored Solutions for SMBs and Enterprises

Small Businesses
Empower clients with 24/7 online appointment scheduling and simplify team organisation for maximum efficiency. Our all-in-one customer appointment software eliminates administrative burdens, allowing you to focus on business growth.
Discover the Benefits
Enterprises
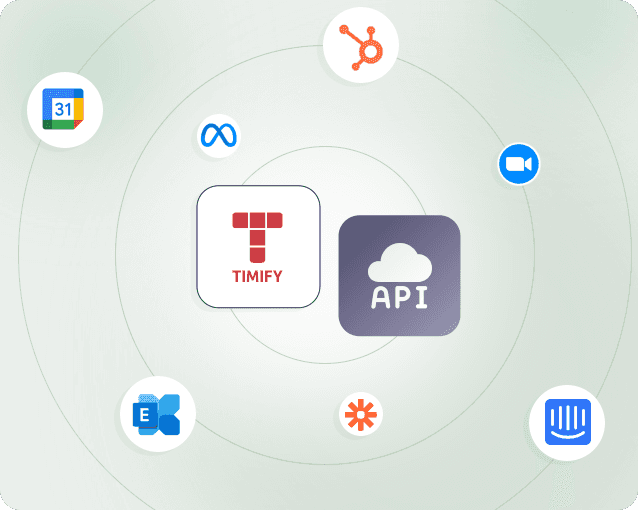
Featuring advanced capabilities, a robust API, and seamless customisation, our scheduling management software addresses complex technical and security booking requirements, ensuring scalability and reliability for large organisations.
Discover the BenefitsSolutions According to your Industry


How TIMIFY Stands Out from Competitors
TIMIFY is more than just a booking tool—it’s a comprehensive appointment management platform designed to deliver real solutions. Whether you're a small business looking for simplicity or an enterprise managing complex schedules, TIMIFY adapts to your needs, making scheduling effortless and efficient.


Trusted by over 45,000 forward-thinking companies